The ERPLY receipt template is formulated to give you and your customers all of the information legally necessary plus customization options to help your receipt look good and get across your important information.
The first step to maximizing the customization of our receipt template is to add your logo to your receipts.
1.) Open SETTINGS 2.) Choose CONFIGURATION TAB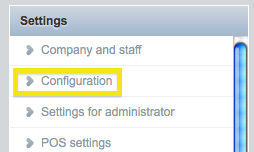
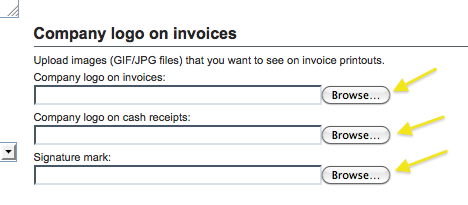
3.) Scroll down on the right-hand side to tab “COMPANY LOGO ON INVOICES- use the browse button to search your computer for Logos
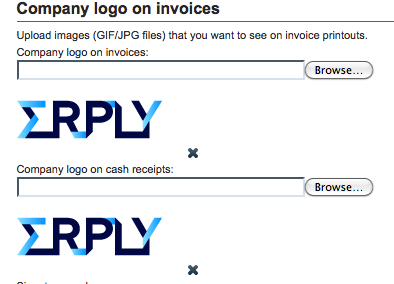
4.) Once complete---SAVE (in upper right) to apply changes. Once saved you will now see your Logo(s) appear:
To further customize your receipt template you have more options in the Settings>configurations area:
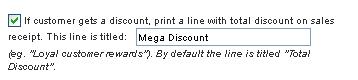
Settings > Configuration > POS > chbx: “If customer gets discount print a line with total discount on sales receipt. This line is titled:- Allows the user to add their own discount line on a receipt with their message.

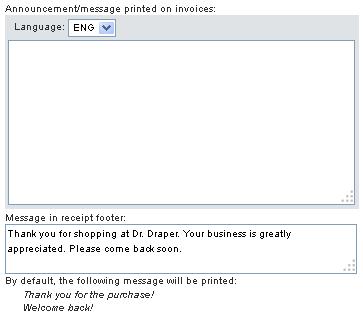
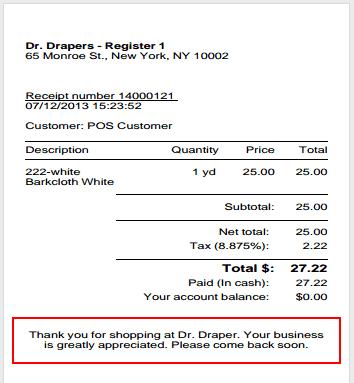
Settings > Configuration > Sales document printouts > “Message in footer of cash receipt”- Allows the user to change the message that will appear in the footer of receipt.
Settings > Configuration > Sales document printouts > checkbox: “Print receipt # as barcode on receipt”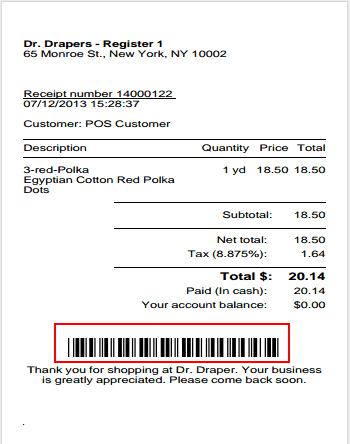
- Allows the user to enable barcodes and view them as on receipt. This can make returns with receipt easier on your cashiers.
Settings > Configuration > Sales document printouts > checkbox: “Print Gift card balance on receipt”- Allows the user to enable and view gift card balances on receipts where gift cards were used.
In other areas of ERPLY you can customize the information that appears within your receipt template:
Inventory > Registers > (your Register) > chbx: “Print Salesperson on receipt”
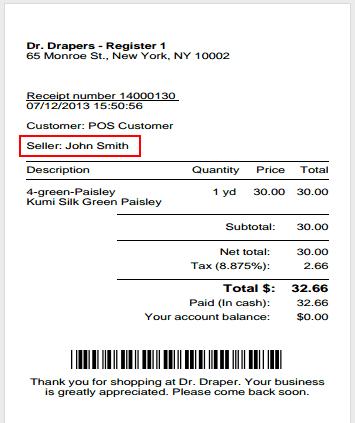
- Allows the user to enable or disable printing the Cashier’s name on receipts.
Inventory > Registers > (your Register) >“Address (as printed on receipt)”
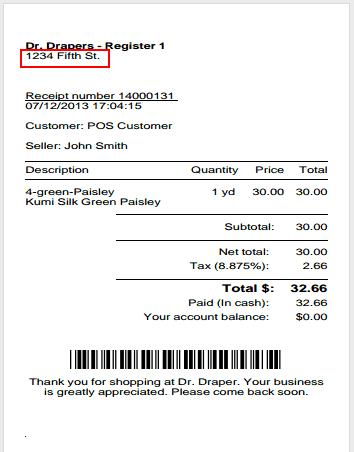
- Allows the user to edit the address that will be printed on the receipt.
- Each register may print a different Address if you’d like.
Note:
If you leave this field, or the phone field, blank, the receipt will print the address located in your location card, or barring that, the company card
Inventory > Registers > (your Register) >”Phone”
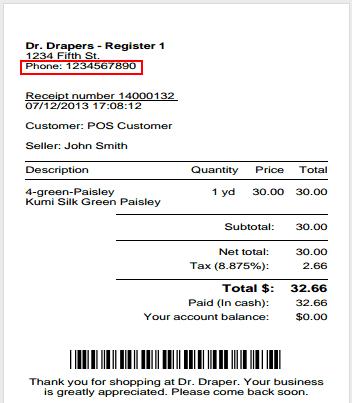
- Allows the user to edit the phone number that will be printed on the receipt.
Inventory > Registers > (your Register) > “Opening Hours”
- Allows the user to add “store hours” or edit “store hours” shown on the receipt.
_____________________________________________________________________
